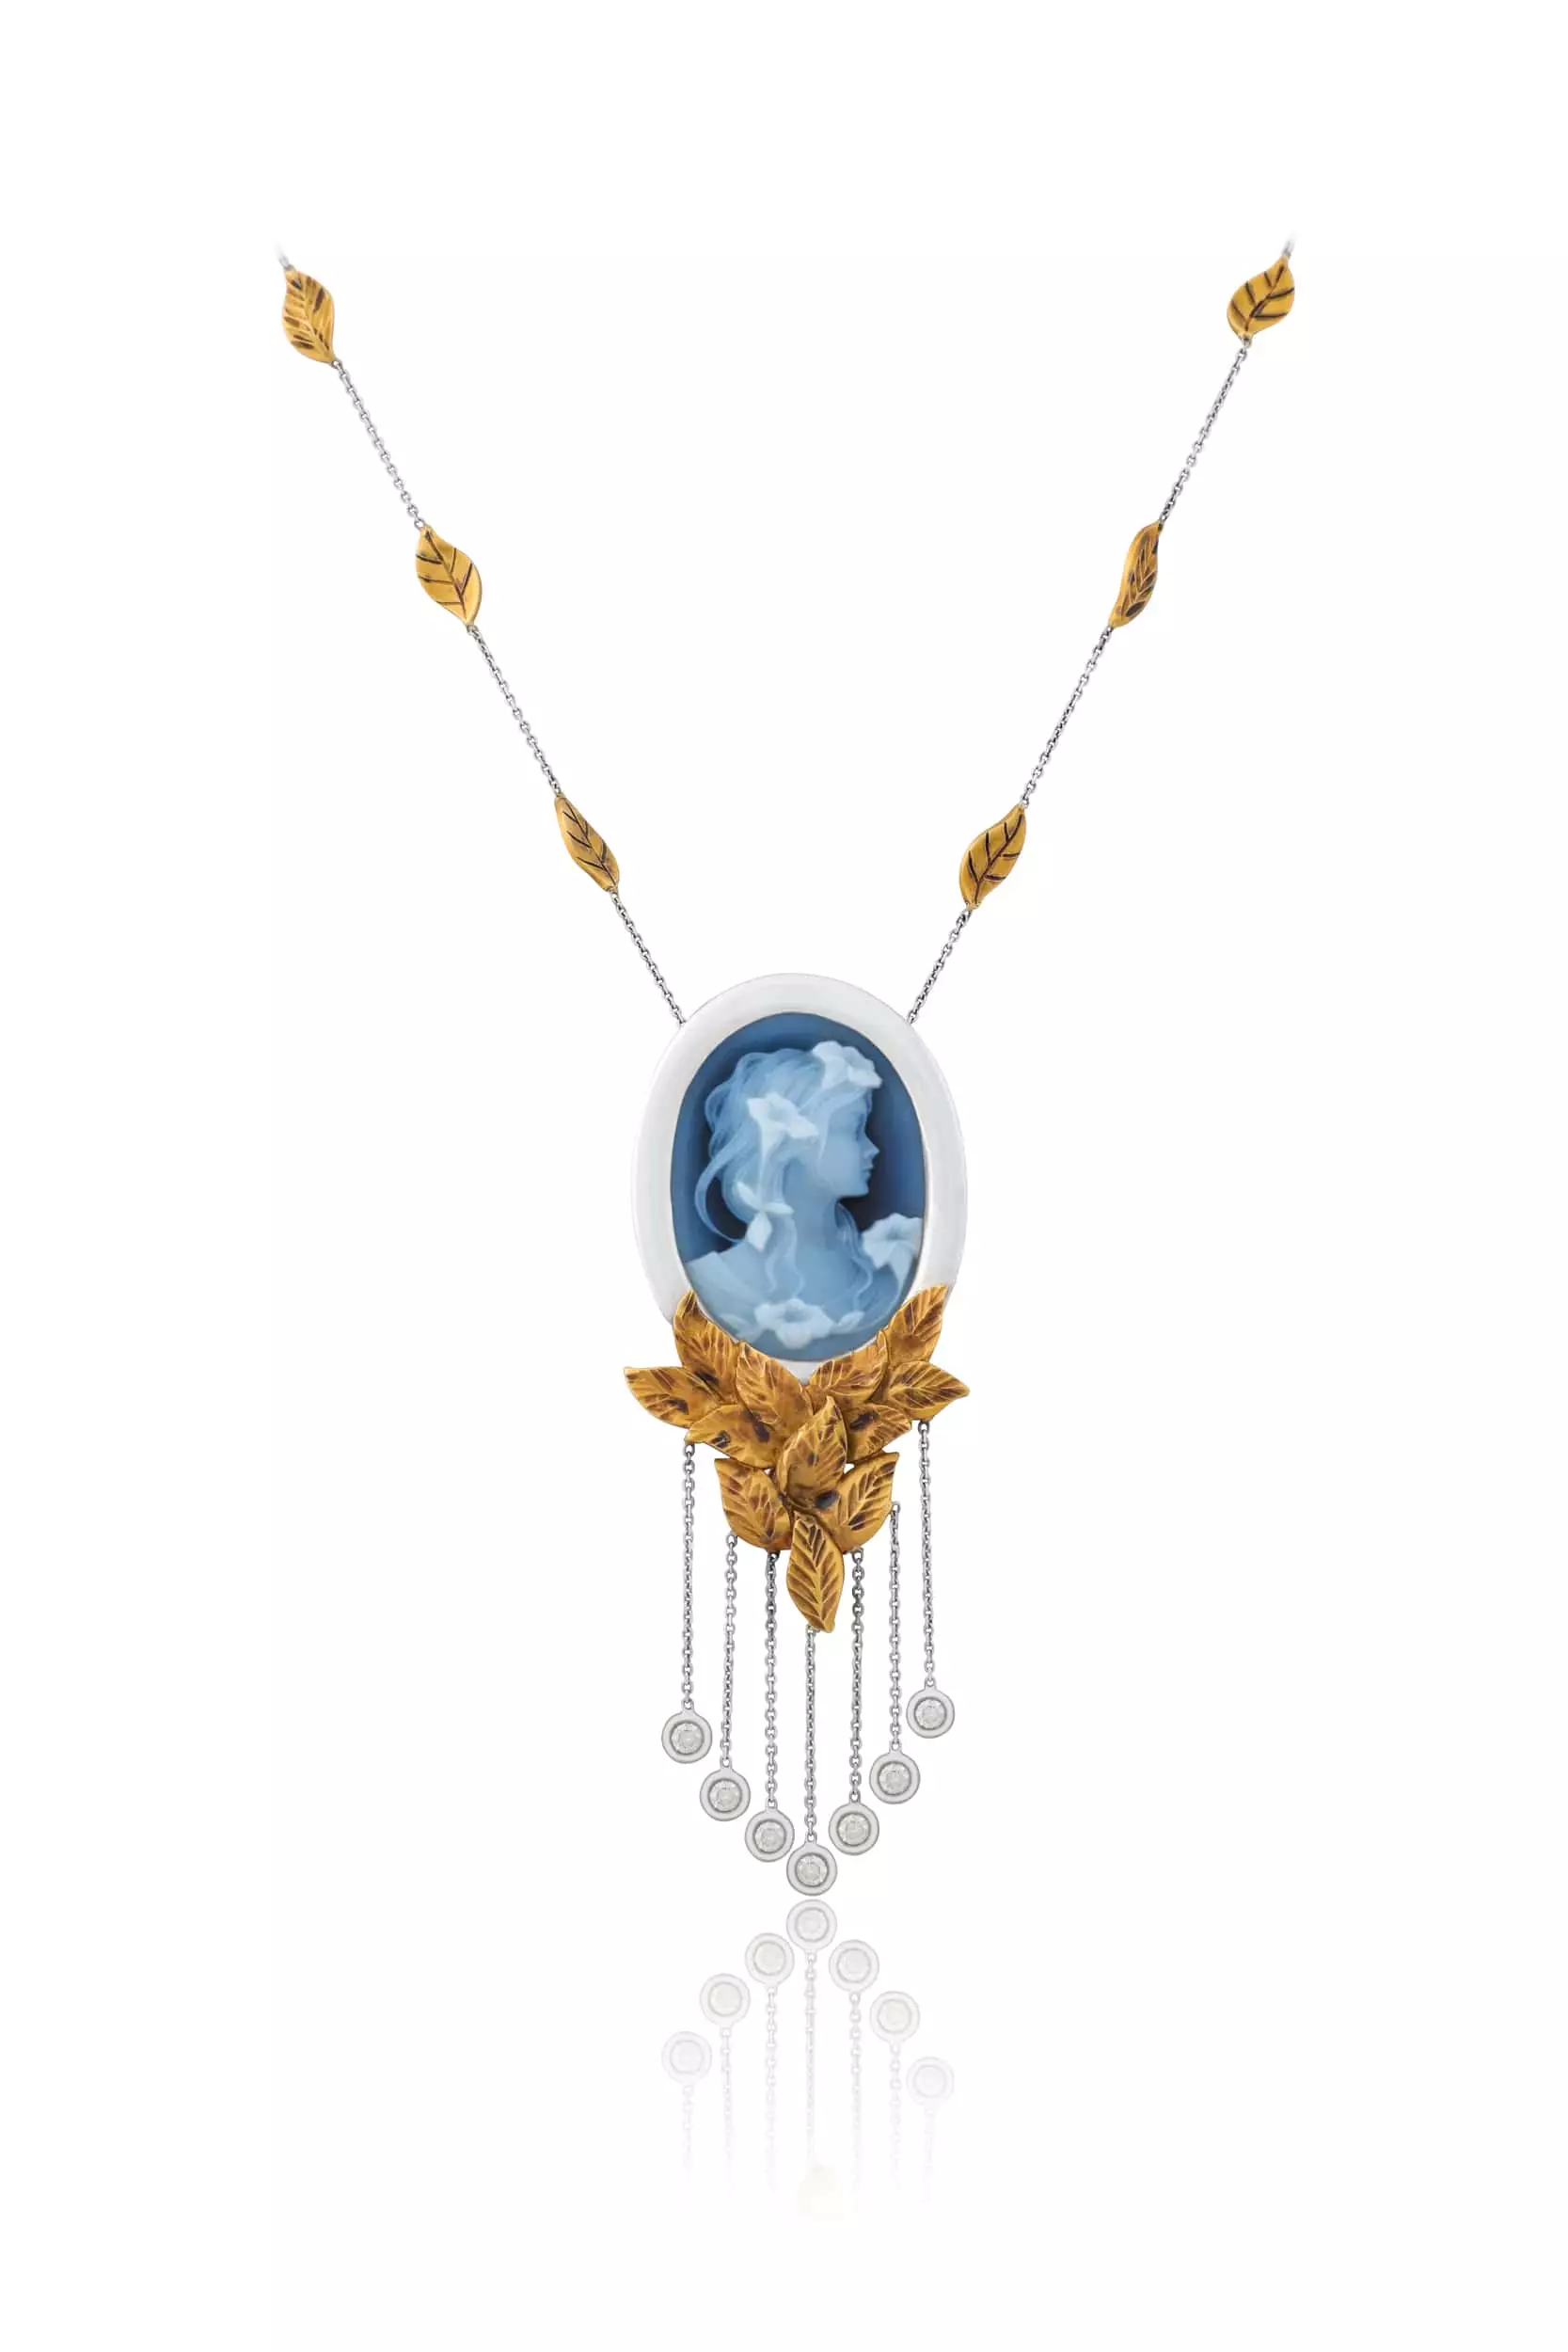
Product Photography Tools
Product Photography Tools
Of course, for those of us who don’t know the difference between a Nikon or a Kodak, product photography can seem a little intimidating. And for small businesses on a budget, investing in expensive photography equipment simply isn’t an option.
Luckily, taking high-end photos is far more accessible today than it was 10 years ago. Considering most of us already have a 12-megapixel iPhone camera in our pockets, and many top-tier editing software is becoming more affordable, improving your ecommerce photography is probably simpler than you think.
Here we’ve highlighted some tips and practical steps for building your own DIY, at-home photography studio.
1. Set up your background.
Getting the right background not only keeps the focus on the product you’re photographing, but it also helps simplify the editing process when it comes time for post-production. Try using a white or light backdrop, as this will make it easier to remove unwanted objects and retouch photos.
Luckily, you don’t have to spend an arm and a leg on a fancy backdrop to get the perfect shot. There are a couple affordable options that will do the job:
Shooting table
If you’re going to have several photoshoots, you might want to order a white sweep off of Amazon. But if you want to go the homemade route, you can make your own chair-mounted sweep using a roll of white craft paper.
All you have to do is push the back of the chair against a wall and tape the craft paper on the wall above the chair, allowing it to fall to the ground. This will create a clean transition between the vertical and horizontal planes whenever you position your product on the chair.
However, for larger products such as furniture, you’ll need to invest in a stand-mounted sweep like the one below. Or, you can use the same method as the chair-mounted sweep by taping white craft paper to the wall.
Light tent
Another affordable option for a backdrop is to build your own light tent, otherwise called a lightbox. This is a wireframe box with translucent walls which helps create an evenly distributed light around the object in focus.
To make your own, you’ll need a plastic storage container, placed on its side with the lid off.
Next, cover the bottom — and all the other sides, if you’re wanting a more evenly distributed light — with white paper.
Lastly, place an artificial light on either side of the container, or simply use natural light from a nearby window if you’re working on a budget.


